We've all been there, trying to slice a tomato and instead of cutting through cleanly, you're squashing it into a pulpy mess. Or maybe you're pressing down so hard on a chicken breast that the knife slips and you nearly take off a fingertip. It’s somewhat ironic that dull knives send more people to the emergency room than sharp ones, but it makes perfect sense when you stop to consider the logistics. Dull knives require excessive pressure, which leads to loss of control, which in turn leads to those unexpected hospital visits.
Understanding the Angle
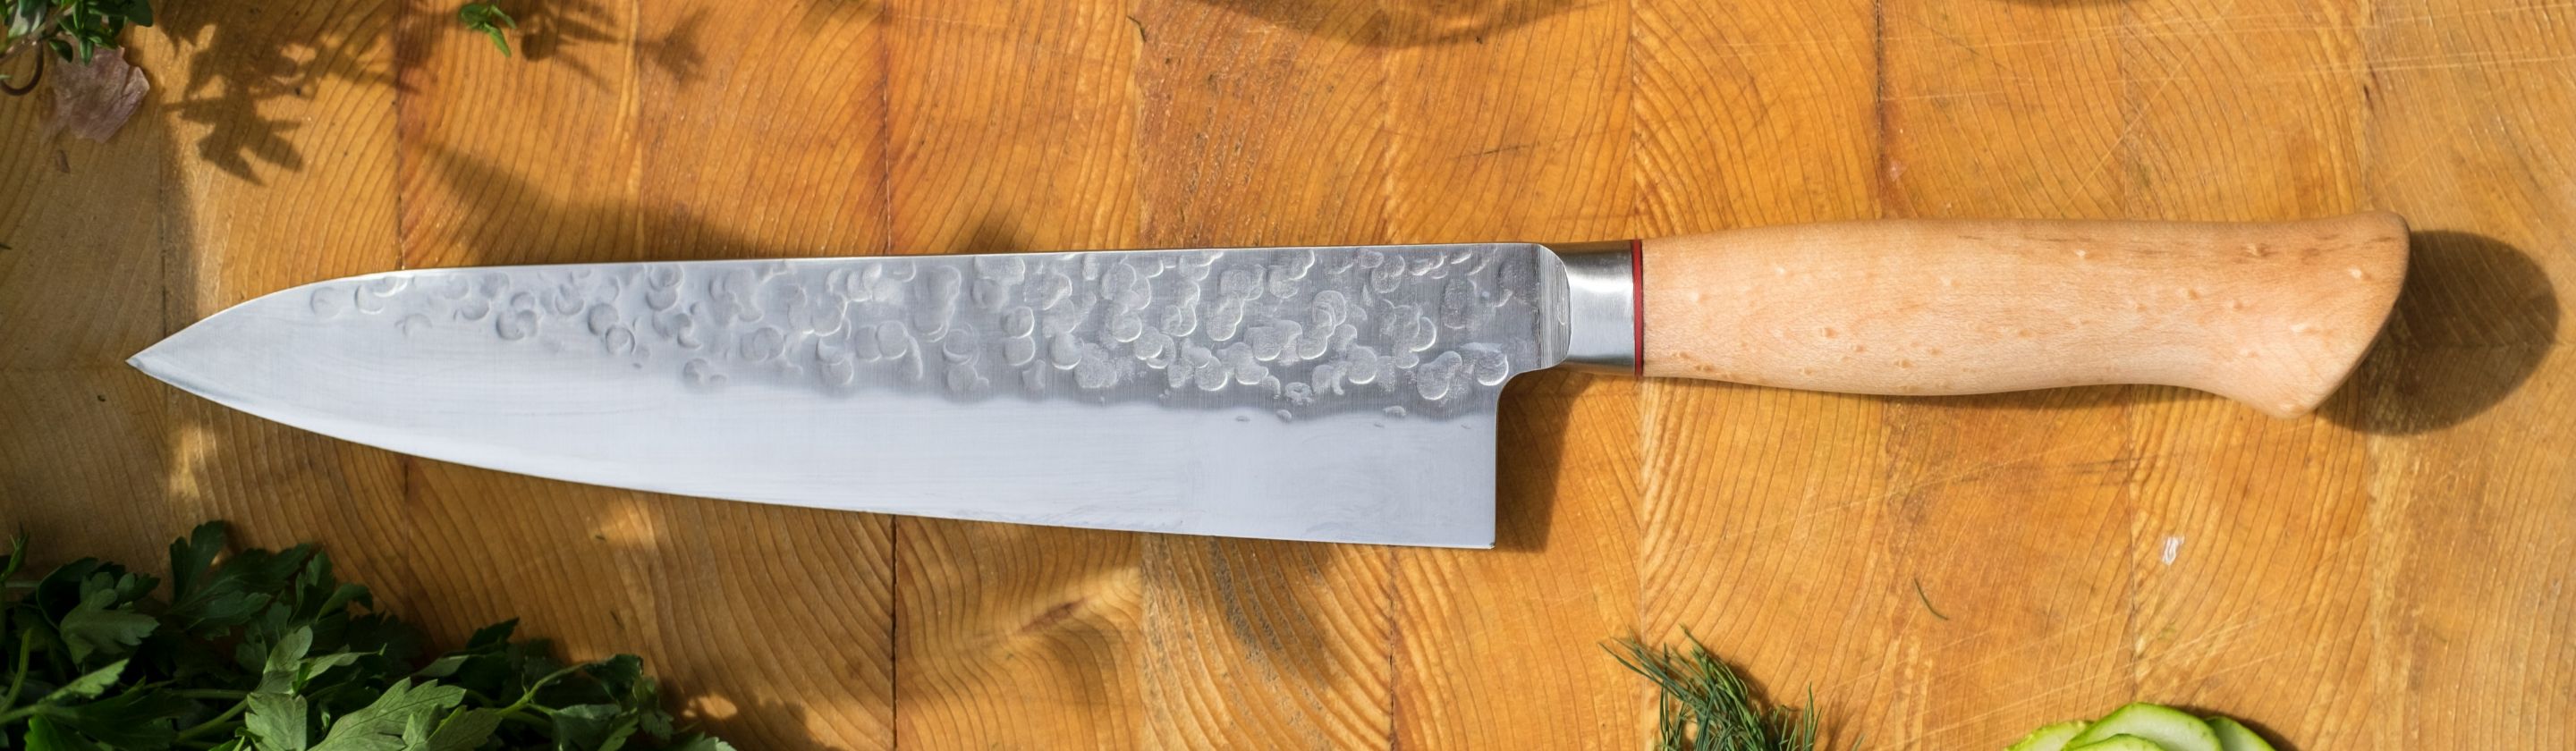
Most Western kitchen knives need a 20-degree angle on each side. If you’re lucky enough to own a Japanese knife, aim for 15 degrees. This matters more than you'd think because maintaining a consistent angle is the most essential aspect of sharpening. If you're eyeballing it without any reference point, you're probably doing it wrong.
Hold the knife against the stone and imagine the angle. Some people use coins as guides (two stacked nickels approximate 20 degrees), though that feels finicky for everyday sharpening. The key is muscle memory. Once you've found the right angle, your hands will remember it.
The Whetstone Method Works Best
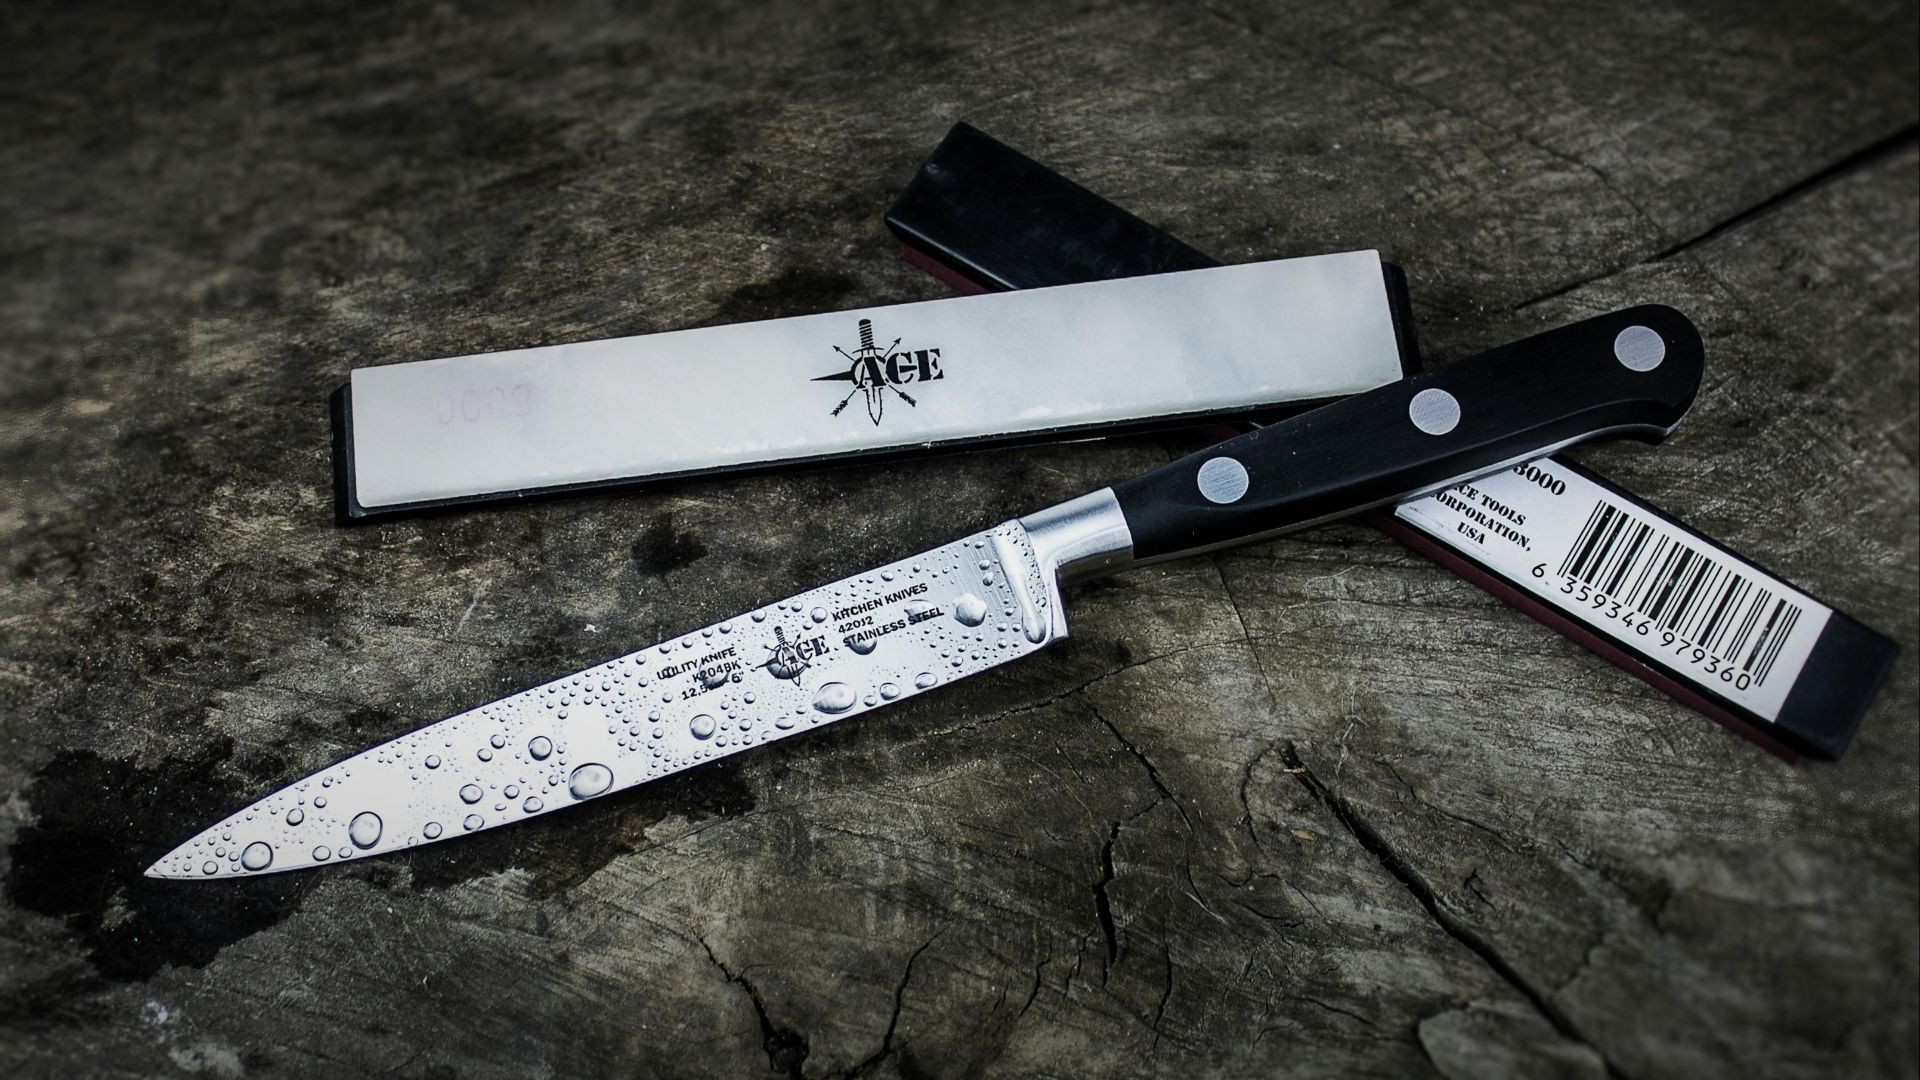
Pull-through sharpeners are convenient. They also remove way too much metal and can't match the edge you'll get from a proper whetstone. A decent double-sided stone with 1000 and 6000 grit will run you about thirty bucks and last for years.
Soak the stone for ten or fifteen minutes before starting—check the manufacturer's instructions first. Place it on a damp towel so it doesn't slide around your counter. Then draw the knife across the coarse side in smooth, sweeping motions, keeping that angle consistent. Start at the heel of the blade and work toward the tip in sections. You'll feel a burr forming on the opposite edge—that's good. It means you're actually removing material.
Flip the knife and repeat on the other side. Match your stroke count. Ten passes per side on the coarse grit, then move to the fine side for polishing. The process takes maybe ten minutes once you've done it a few times.
Honing Isn't Sharpening
Here's where people get confused. That steel rod that came with your knife block is a honing rod, not a sharpening tool. Honing realigns the microscopic teeth on your blade's edge but doesn’t have the ability to create a new edge. Think of it as maintenance between actual sharpenings.
You should hone before each use if you're serious about knife care. Hold the rod vertically with its tip on a cutting board, then swipe the knife down at that same 20-degree angle, alternating sides. Do four or five passes total. Professional kitchens do this constantly throughout service, as it makes a surprising difference in how a knife performs.
Test Your Work
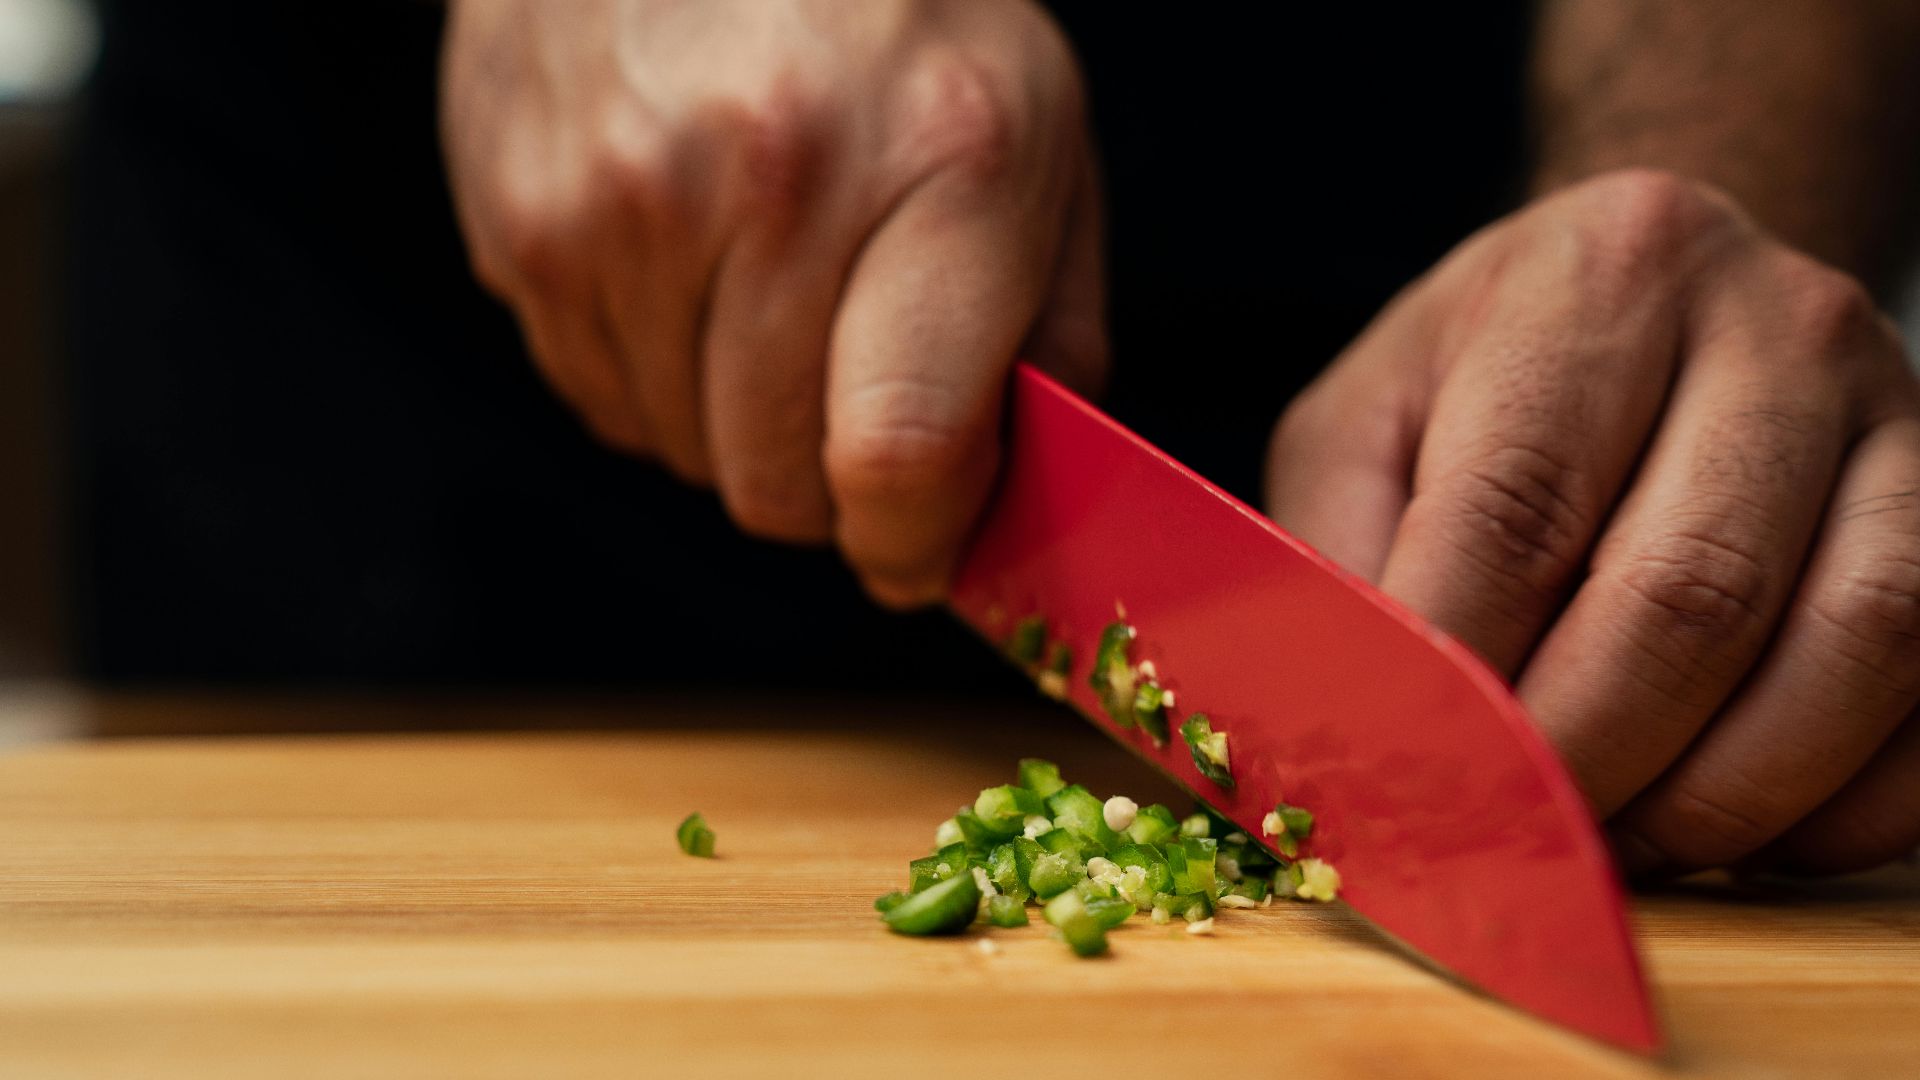
The paper test doesn't lie. Hold a sheet of printer paper by one edge and try slicing through it with your newly sharpened knife. A properly sharp edge will cut cleanly without tearing or folding the paper. If it catches or tears, you need more work on the stone. The tomato test works too. A sharp knife should glide through the skin with almost no pressure.
When to Admit Defeat
Some knives are beyond home sharpening. If you've got chips in the edge or the blade is severely damaged, take it to a professional. Most kitchen supply stores offer sharpening services for ten to fifteen dollars per knife. They've got industrial equipment that can reset a blade's geometry properly. Sometimes spending the money makes more sense than wasting time trying to undo years of damage.
KEEP ON READING
20 High-Fat Sauces and Dips You Should Stop Eating