Cookie recipes often look straightforward, which makes it especially frustrating when your batch spreads into thin puddles, stays pale, or comes out dense while the photograph shows perfectly rounded cookies with crisp edges and soft centers. The difference usually isn’t a secret professional trick, because small choices involving ingredients, temperature, and timing can change the final result more than most people expect. Even a reliable recipe can behave differently when the butter is warmer, the flour is measured differently, or the baking sheet unexpectedly holds heat.
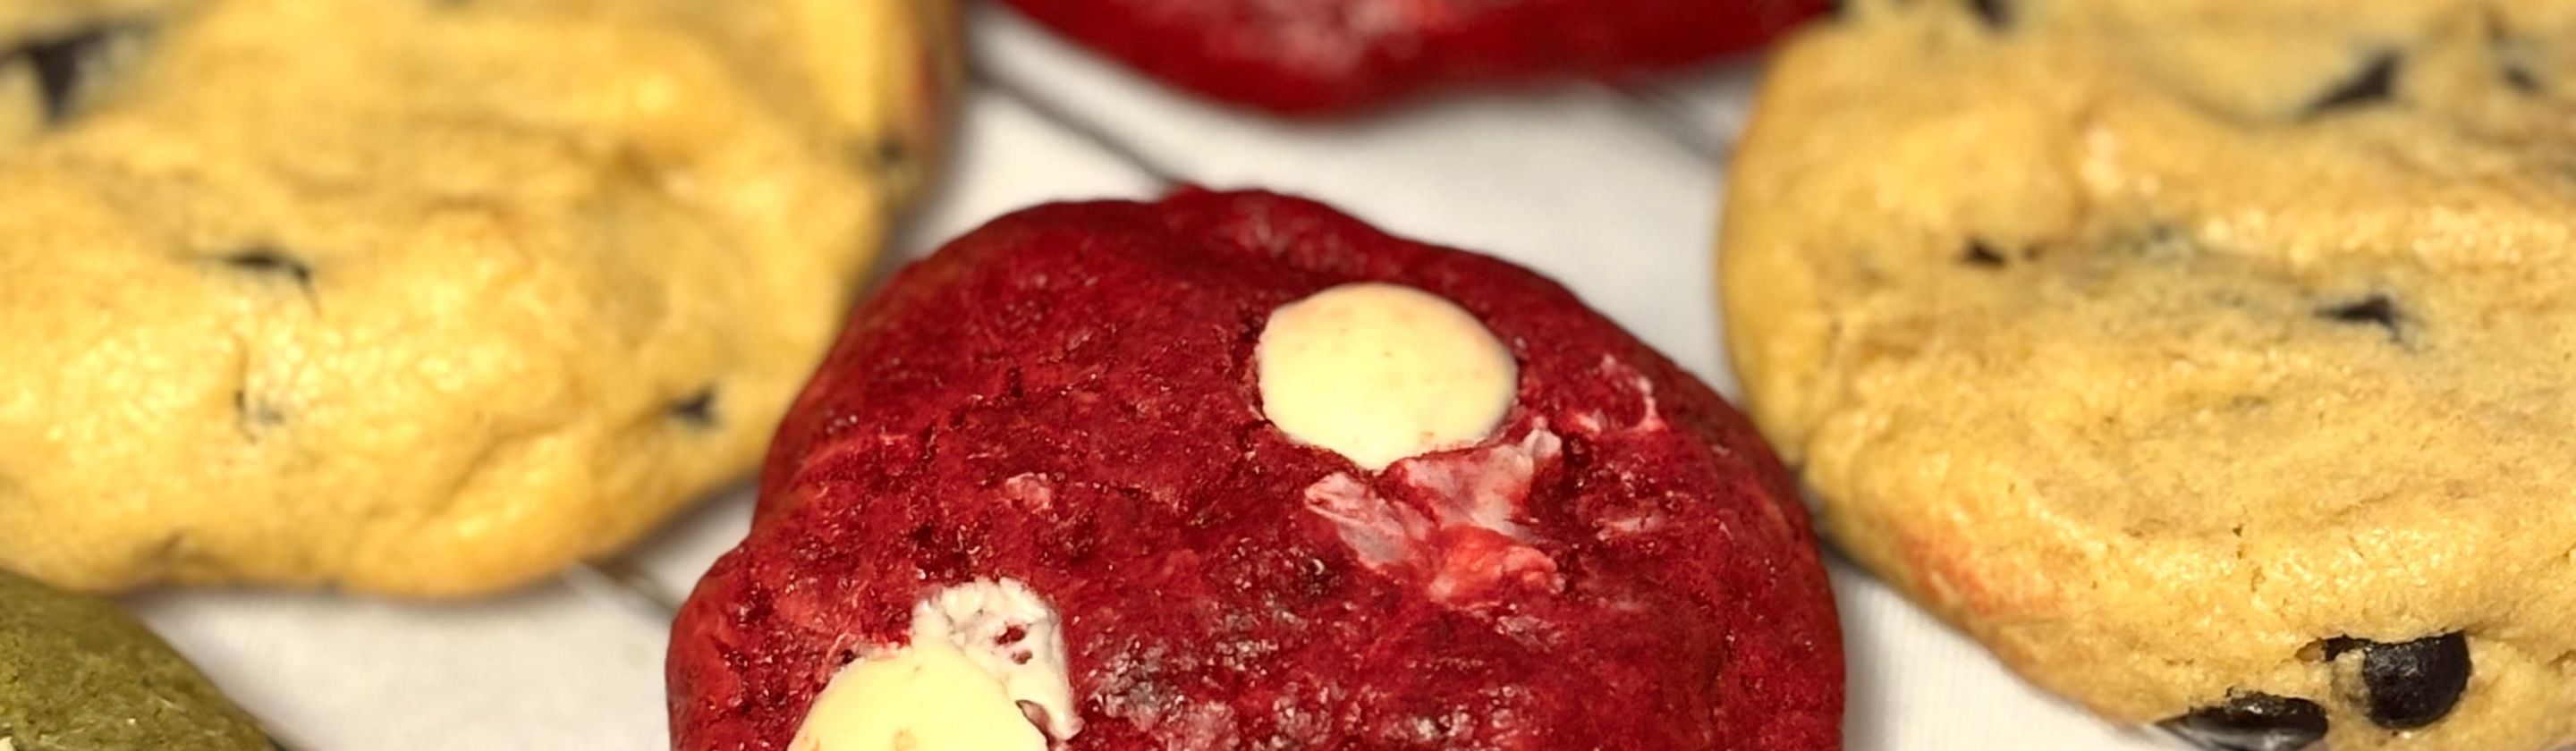
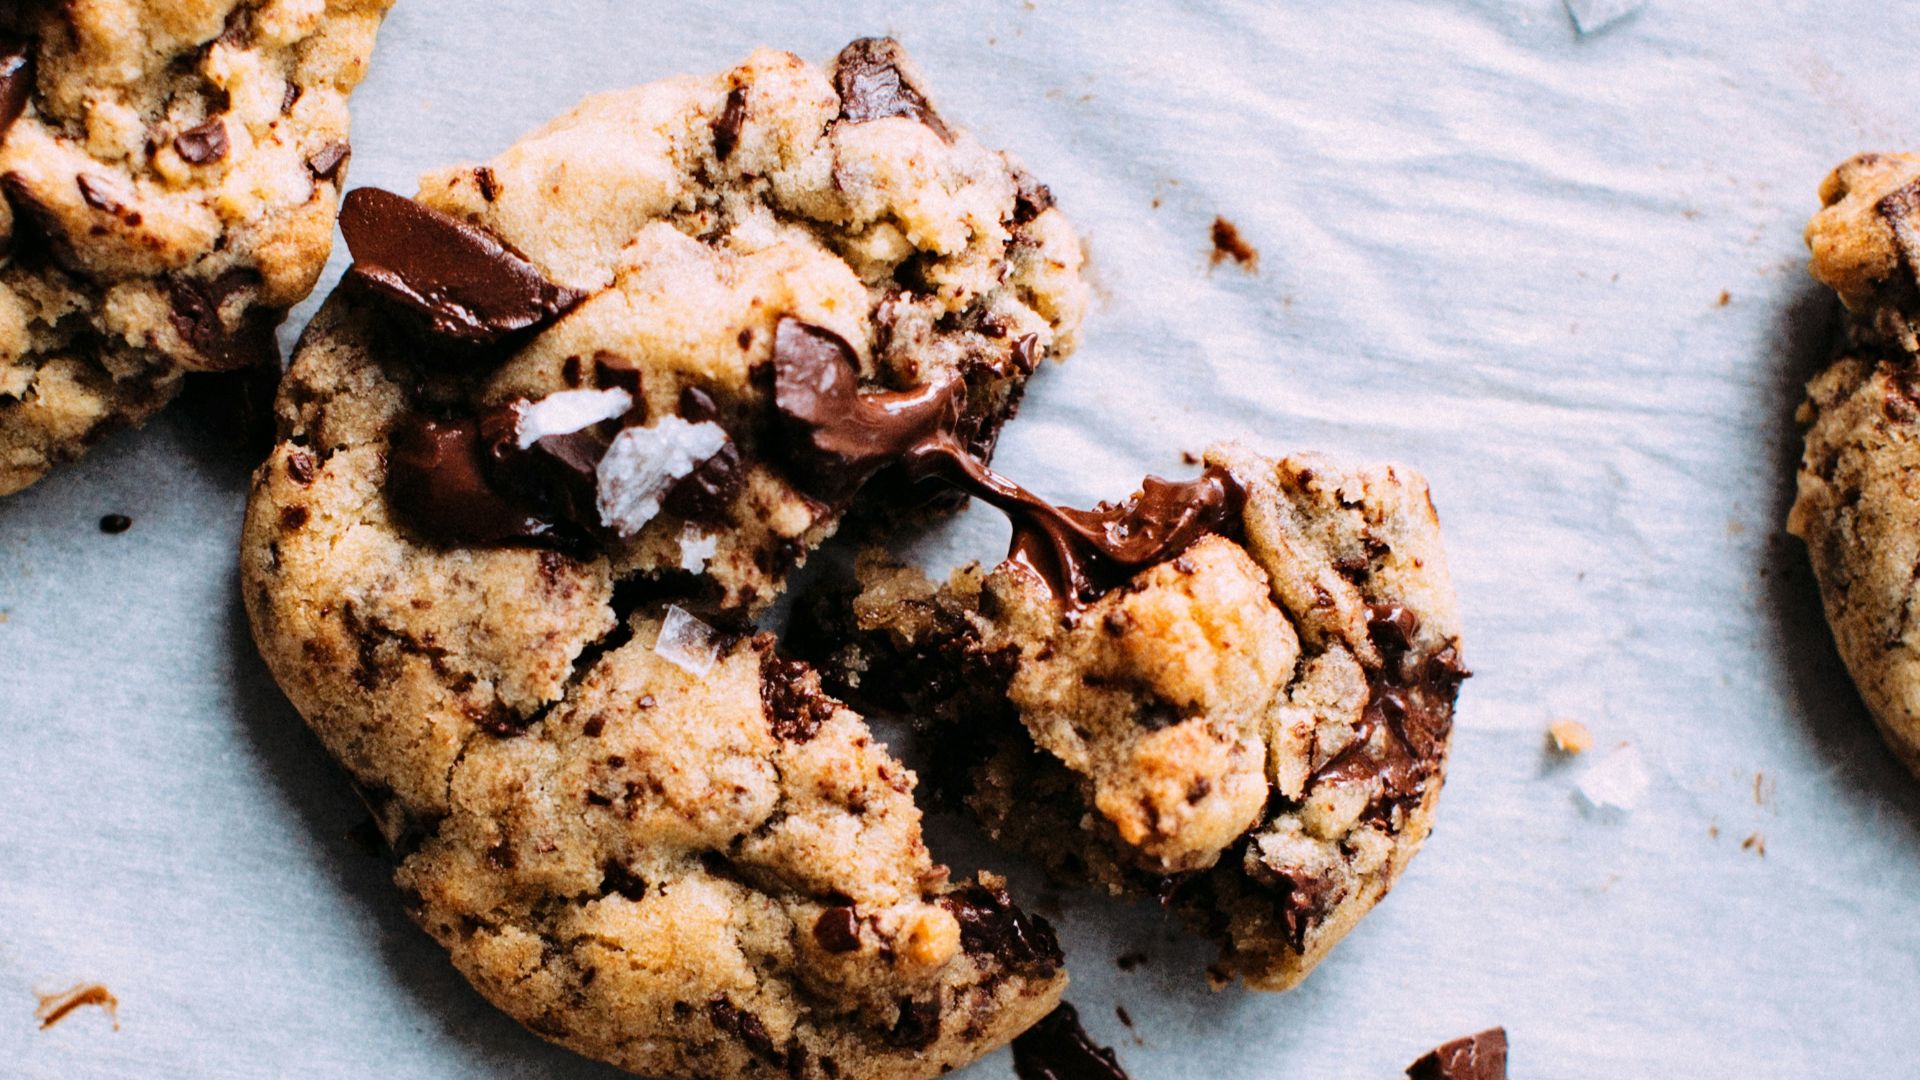
Recipe photos can also create unrealistic expectations because they usually show the most attractive cookies from an entire batch rather than every cookie that came out of the oven. Food stylists may arrange chocolate chips on top, select the most evenly shaped examples, and photograph them under lighting that emphasizes texture and color. Your cookies don’t need to look identical to the image to taste good, but repeated problems usually point to a preparation detail that can be corrected.
Your Ingredients Aren’t Behaving the Same Way
Butter temperature is one of the biggest reasons cookies spread too much or remain unusually thick. When a recipe calls for softened butter, it generally means butter that gives slightly when pressed but still holds its shape, not butter that looks shiny or partially melted.
Flour measurement can also change the structure of a cookie more than a casual scoop suggests. Pressing a measuring cup directly into the flour bag can pack in extra flour, producing dry dough and cookies that don’t spread properly. Weighing flour is the most consistent method, although spooning it lightly into a measuring cup and leveling the top is a reasonable alternative.
Egg size, sugar type, and ingredient substitutions can affect moisture, browning, and texture as well. Brown sugar generally contributes more moisture and chewiness than white sugar because it contains molasses, while white sugar often encourages spreading and crispness. Replacing one with the other may still produce an edible cookie, but it won’t create the same appearance or bite.
Mixing and Chilling Change the Final Shape
Creaming butter and sugar isn’t simply a way to combine ingredients, because the process incorporates tiny air pockets into the dough. If you stop too early, the mixture may remain dense, while excessive mixing can warm the butter and reduce the benefit you were trying to create. Most recipes are looking for a lighter, slightly fluffy texture rather than a completely whipped mixture.
Once flour is added, continued mixing can encourage more gluten development and create a firmer, tougher cookie. The dough only needs to be mixed until the dry ingredients disappear, and a few final turns with a spatula are often enough. Aggressive mixing at this stage may also crush chips, nuts, or other additions and distribute them unevenly. A lighter hand helps preserve the tender texture shown in most recipe photographs.
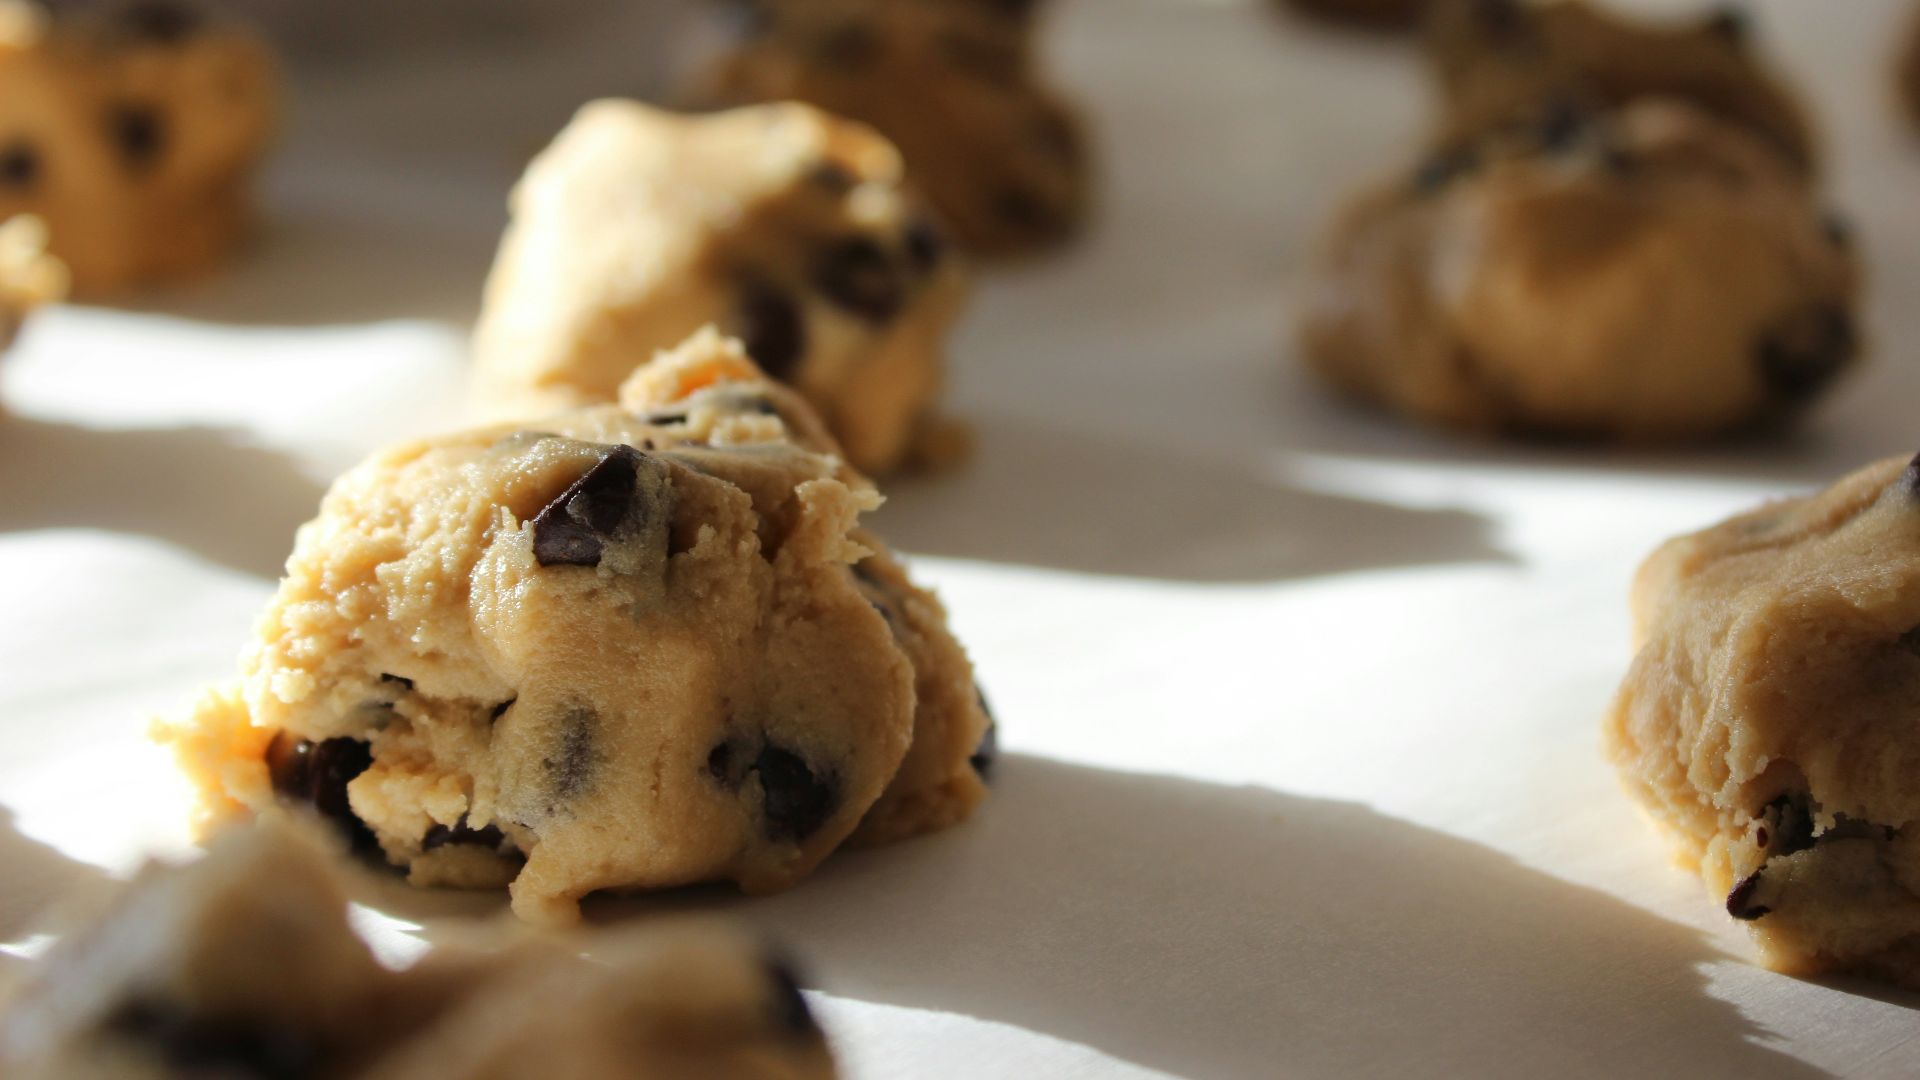
Chilling gives the flour time to absorb moisture while allowing the butter to firm up again. Cold dough usually spreads more slowly, which can help cookies stay thicker and maintain a rounder shape. Even 30 minutes may improve dough that feels sticky, loose, or difficult to portion evenly.
Your Oven and Baking Sheet May Be Misleading You
 Food Photographer | Jennifer Pallian on Unsplash
Home ovens frequently run hotter or cooler than the temperature displayed on the control panel. An oven that’s too cool may allow cookies to spread before their structure sets, while excessive heat can brown the bottoms before the centers finish baking.
The type and condition of the baking sheet can influence browning and spreading. Dark pans absorb more heat and may produce darker, crisper bottoms, while light-colored aluminum sheets tend to bake more evenly. Placing dough on a pan that’s still warm from the previous batch can cause the butter to melt before the cookies reach the oven. Letting the sheet cool completely helps each batch begin under similar conditions.
Parchment paper and silicone mats don’t always produce identical results, despite both preventing sticking. Silicone mats can reduce spreading in some recipes or create slightly different browning because they insulate the dough from direct contact with the metal. Greasing a pan when the recipe doesn’t request it can add even more fat and encourage excessive spreading.
Cookie photographs capture one attractive moment, but your best guide is the combination of visual cues, texture, and repeated results in your own kitchen. Measure carefully, keep ingredient temperatures consistent, and avoid changing several details at once when troubleshooting a disappointing batch. Removing cookies when the edges are set but the centers still look slightly soft often prevents overbaking because they continue cooking on the hot sheet. With a few controlled adjustments, your cookies can become more predictable, even when they never look quite as staged as the ones in photos.
KEEP ON READING