You’ve probably tossed a carton of broth into your cart without thinking twice. It feels like a harmless shortcut, right up there with pre-washed greens and bagged shredded cheese. But that tidy box is often the blandest version of what broth can be, and you’re paying for packaging and shelf life more than flavor.
It’s time to finally elevate your pot and your kitchen. If you cook even a little, homemade broth is one of those upgrades that makes you wonder why you waited. It might not seem like it, but it’s cheaper, tastes like it actually came from food, and turns a basic soup into something people compliment. Once you learn the rhythm, it’s less of a project and more of a kitchen habit you’ll brag about later. We’re here to break down some tips for first-timers!
Why Store-Bought Broth Keeps Letting You Down

Shelf-stable broth is built for consistency, not character, and you can taste that trade-off. It often leans on salt, “natural flavors,” and a vague roasted note to mimic the real thing. When you use it as a base, your meal starts already capped on how good it can get.
It’s also important to remember that even pricier cartons fall flat; they’re designed to behave the same way every time. That’s great for a factory, but you’re not cooking for your family. You’re trying to make dinner taste like something you’d happily eat again tomorrow, so it’s time to ditch the boxed stuff.
There’s also the waste you don’t notice until you do. A single batch of homemade broth can replace multiple cartons, plus you’re using scraps that would’ve gone into the trash. It’s one of the few kitchen changes that feels both indulgent and sensible at the same time.
Broth Basics You Actually Need
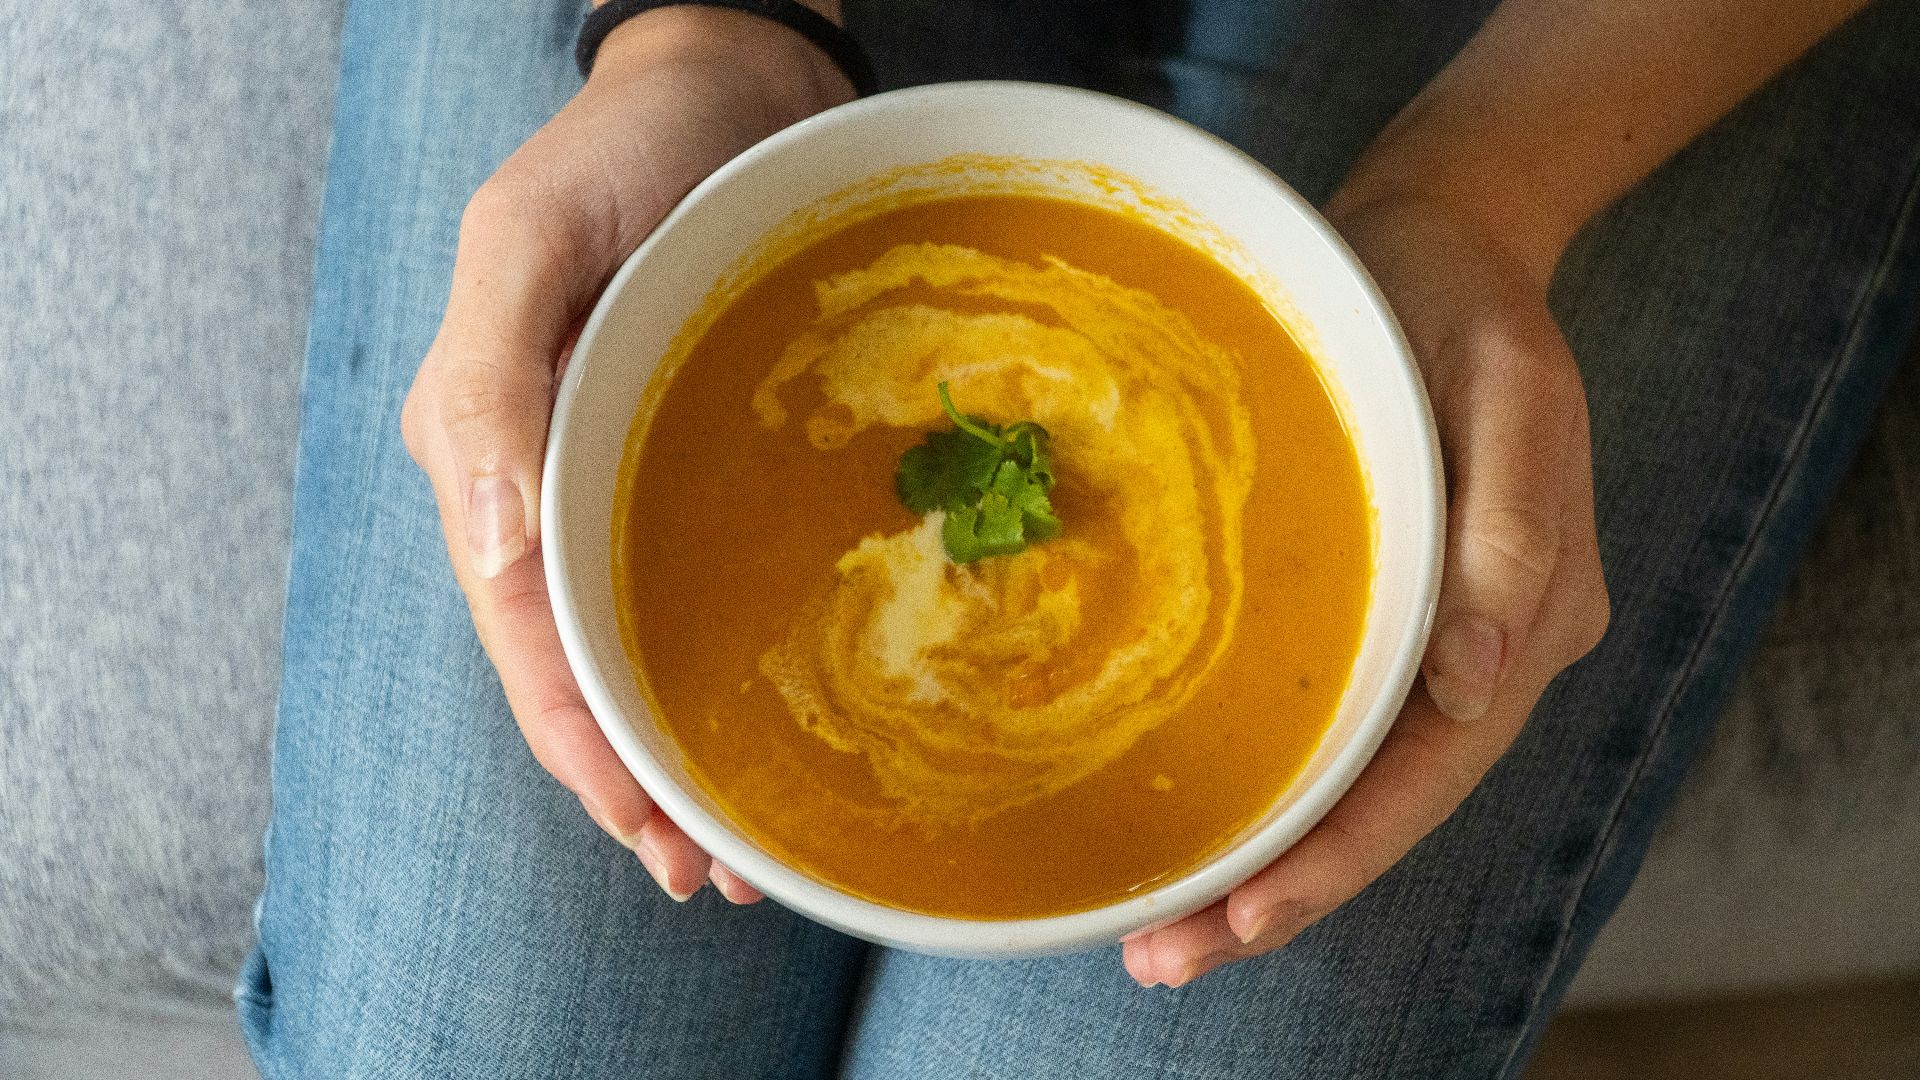
Let’s keep this simple: broth is really just water that’s been persuaded into tasting like dinner. You do that by simmering bones or vegetables with aromatics, then straining the result. Best of all, you don’t need fancy tools, and your biggest skill is patience, not technique.
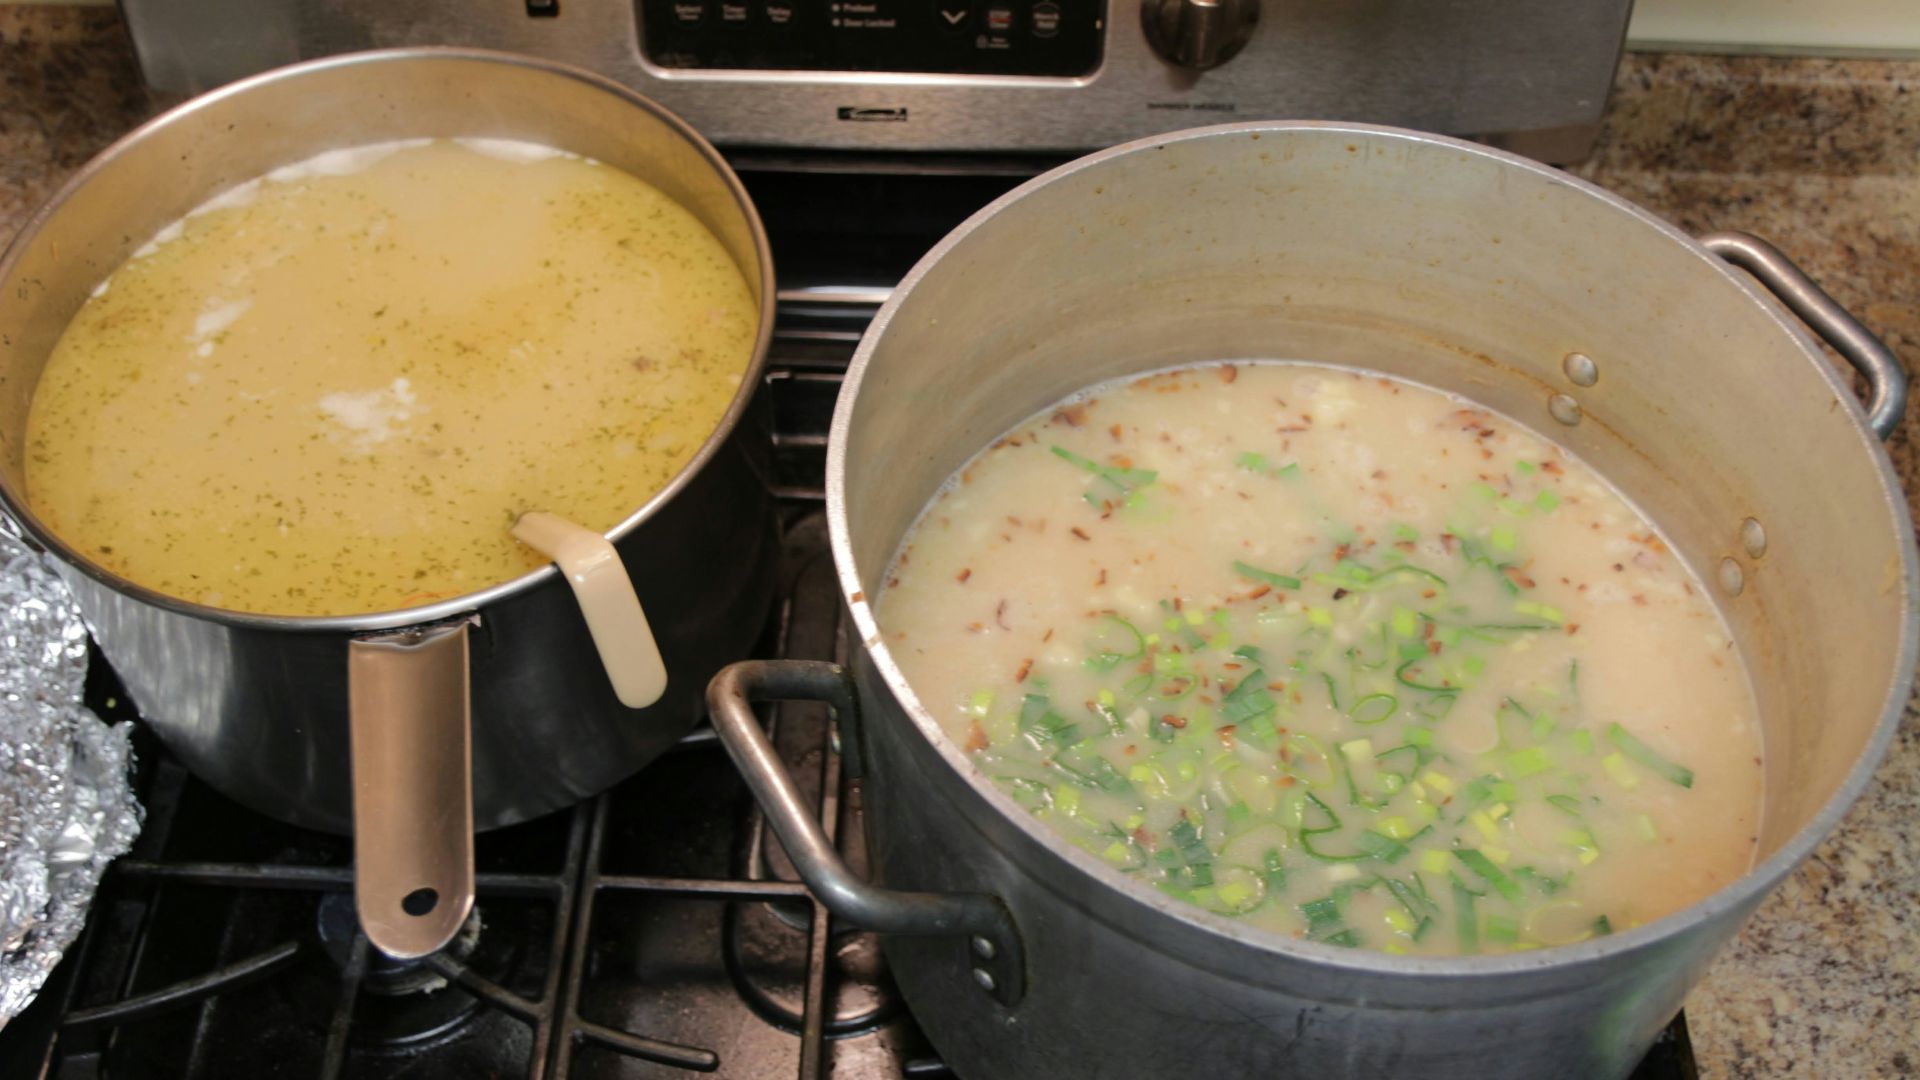
Now, we know making broth sounds intimidating, but that’s just it—it only seems that way. Start with a solid base, and don’t overthink it. For chicken broth, use a leftover carcass, wings, or drumsticks; for beef, use meaty bones like shanks or marrow bones. For vegetable broth, build around onions, carrots, celery, and mushroom stems.
Aromatics are another way you quietly win. Anything from garlic, peppercorns, bay leaves, parsley stems, or thyme yields a layered broth. Just be careful you don’t get too crazy with it; skip heavy-handed spices like cumin or curry unless you want every future recipe to taste like the same flavor train.
How to Make It at Home Without Making It a “Thing”
Pick a pot you trust and fill it with your chosen base, then cover everything with cold water by an inch or two. Bring it to a gentle simmer, not a rolling boil; boiling can make broth taste muddy. Skim any foam that rises early on, and then let the stove do the work.
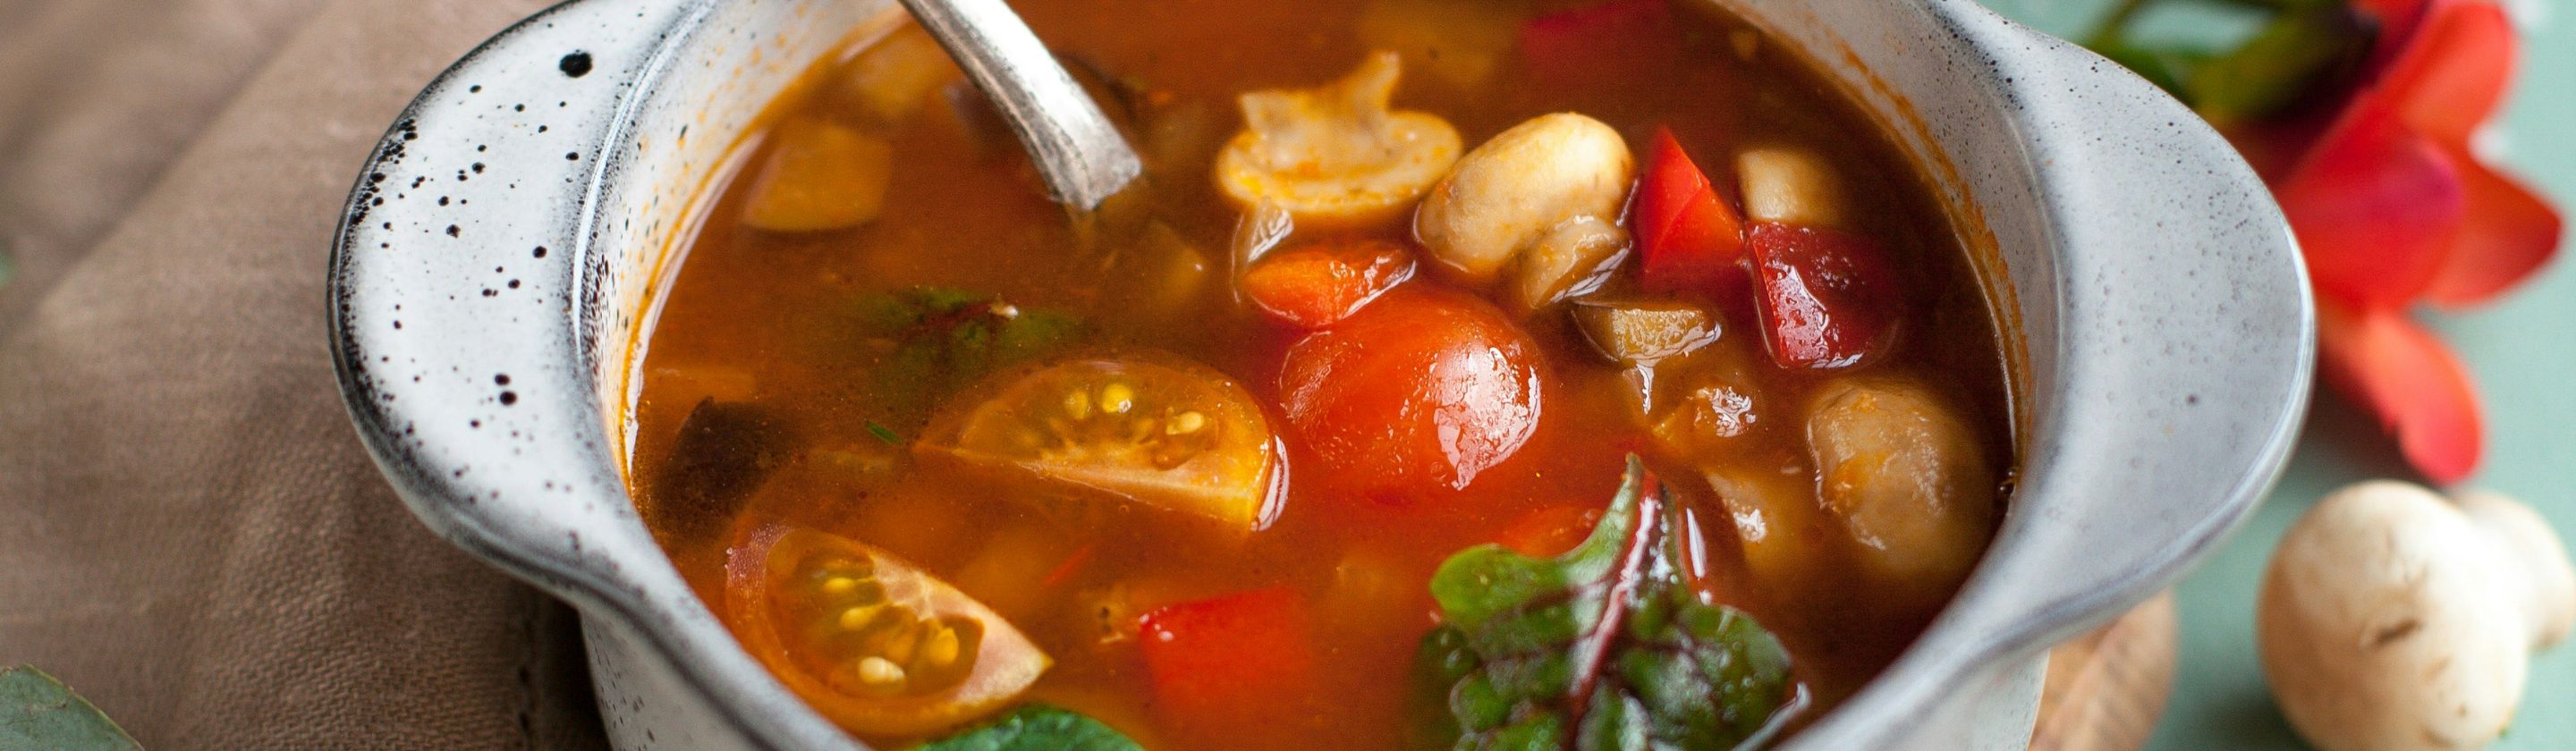
Timing depends on what you’re making, but you’ve got plenty of wiggle room. Chicken broth usually shines after two to four hours, while beef takes six to 12 hours for a deeper, more robust result. However, vegetable broth is faster, often best at 45 minutes to 1.5 hours, because overcooking can turn it oddly sweet.
When it starts to smell irresistible, strain it through a fine mesh sieve and let it cool. Chill it in the fridge so the fat rises and firms up, then lift it off if you want a cleaner broth. If it turns jiggly when cold, congratulations are officially in order—that’s gelatin doing its very delicious job.
Storage, Freezing, and Using It
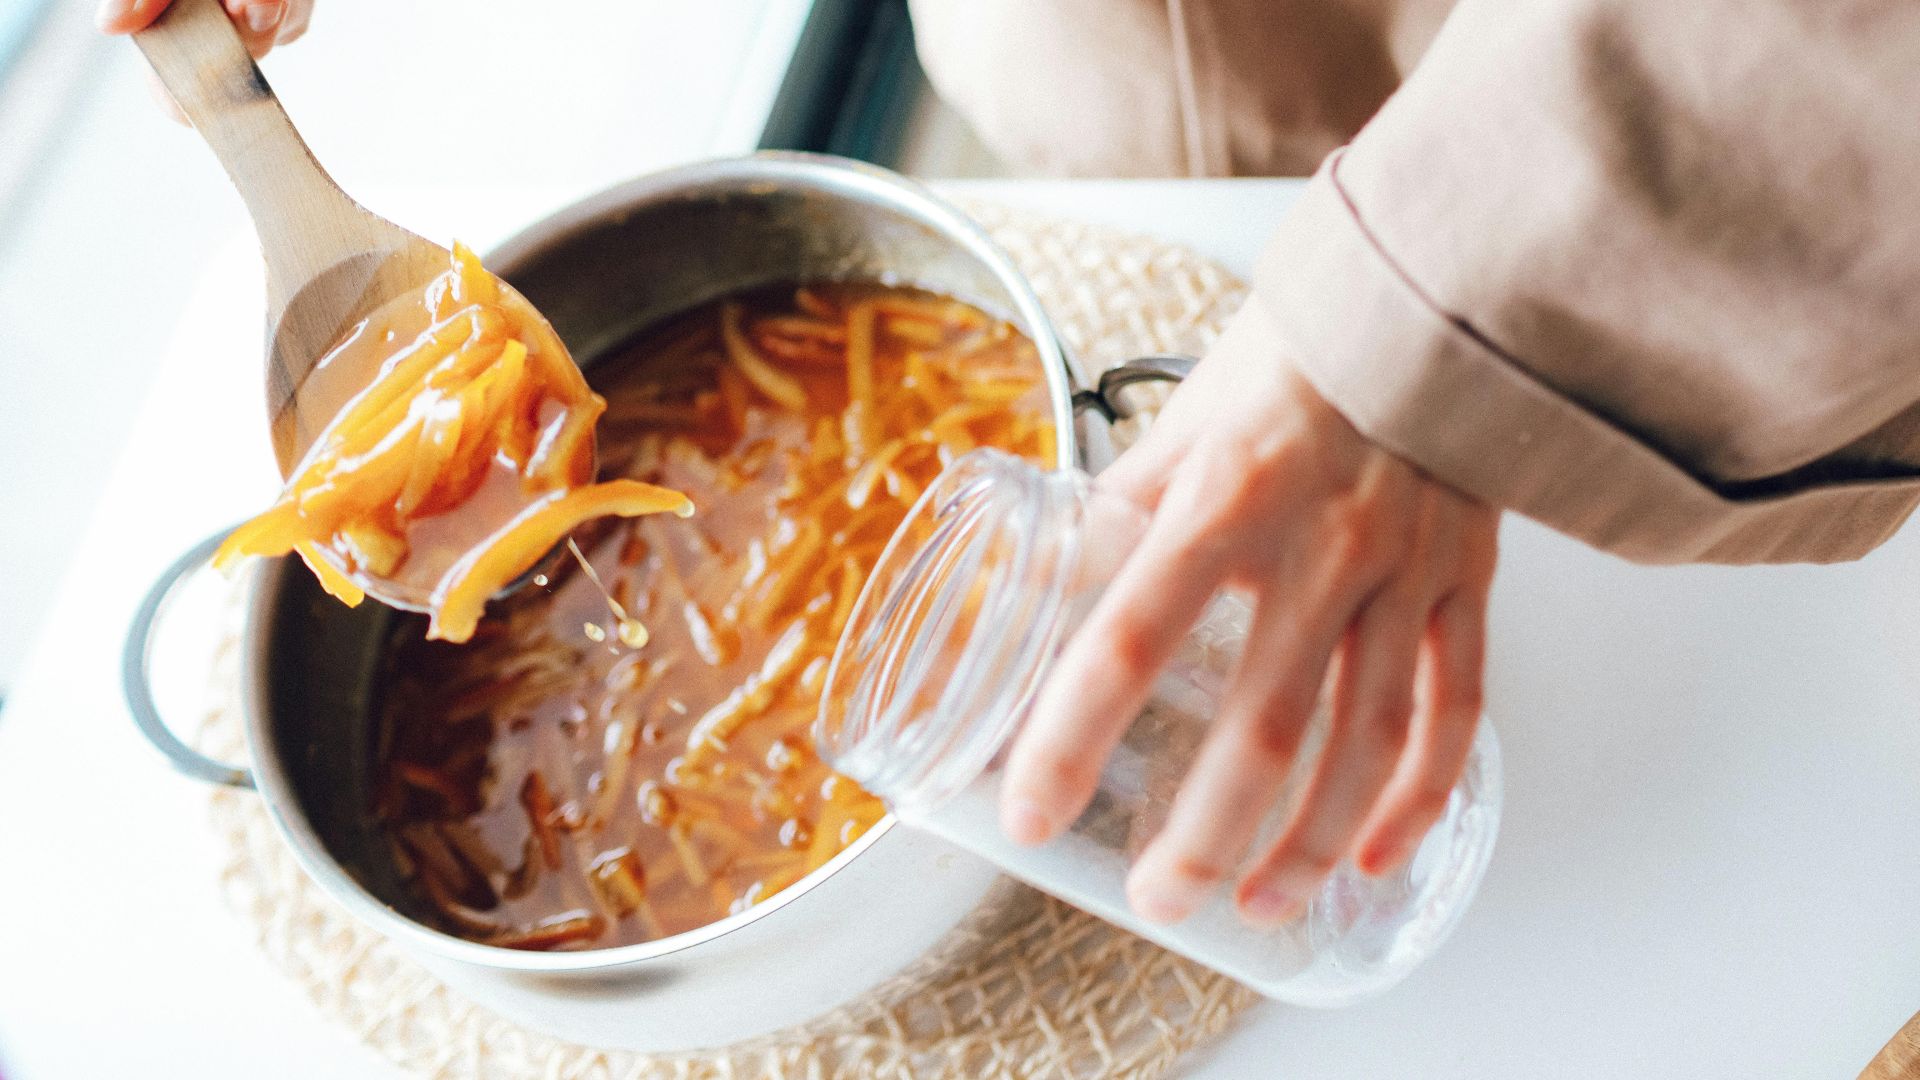
Broth is most helpful when it’s ready before you need it, so store it with your future self in mind. Keep a jar in the fridge for the next few days, and freeze the rest in smaller portions. You don’tn need to stick it in a pot either; ice cube trays, muffin tins, and one-cup containers all work, depending on how you cook.
Label your containers, even if you think you’ll remember what’s inside. Chicken and vegetable broth look suspiciously similar when frozen, and guessing isn’t a culinary skill. Leave a little headspace in each container, too, since liquids expand. You don’t need a freezer mess as a reward for all your hard work!
Broth keeps longer than you think, so don’t be afraid to use it in lieu of plain water—you’ll notice the difference immediately. Cook rice, quinoa, or couscous in it. Add a splash to sautéed veggies, deglaze a pan after searing meat, or build a quick soup.
Once you make broth at home a couple of times, buying cartons starts to feel like paying extra for less. Keep it casual, use what you’ve got, and let simmering do the heavy lifting. Before long, you won’t just have broth—you’ll have a kitchen habit that makes everything taste better!
KEEP ON READING

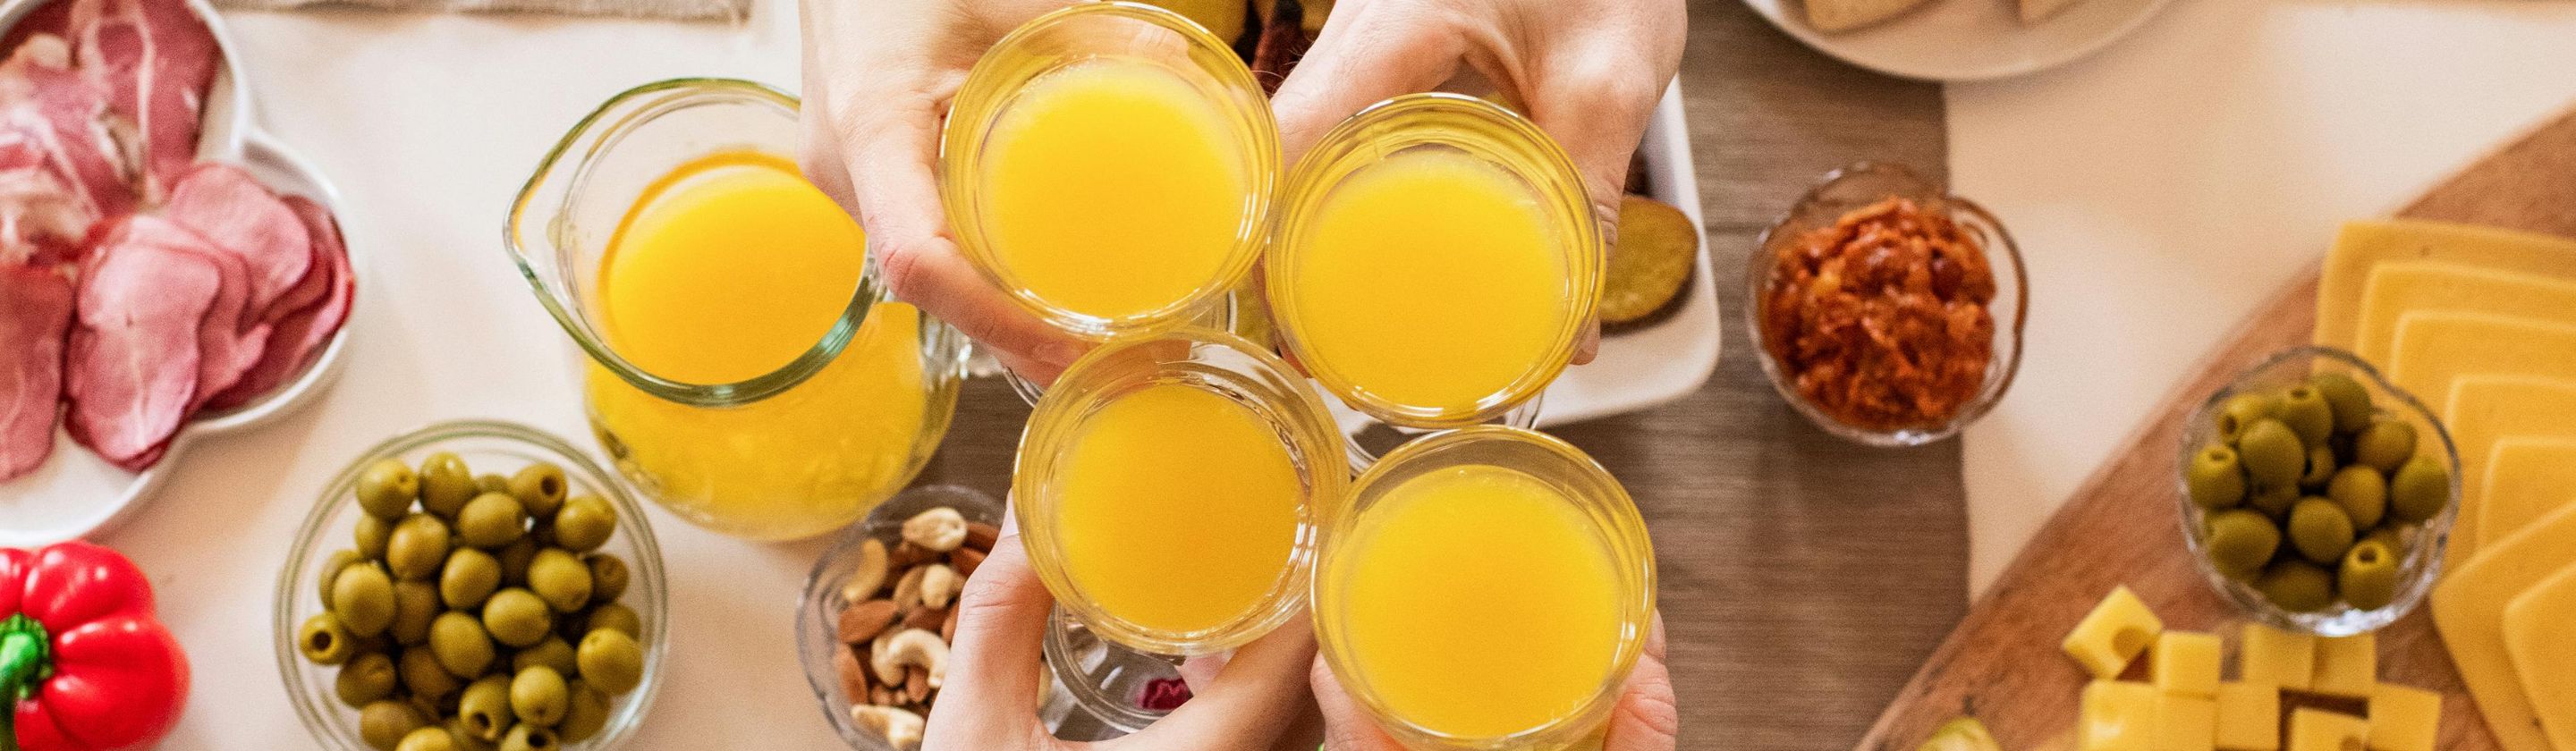
Happy Hour: The 20 Best Foods For Social Snacking